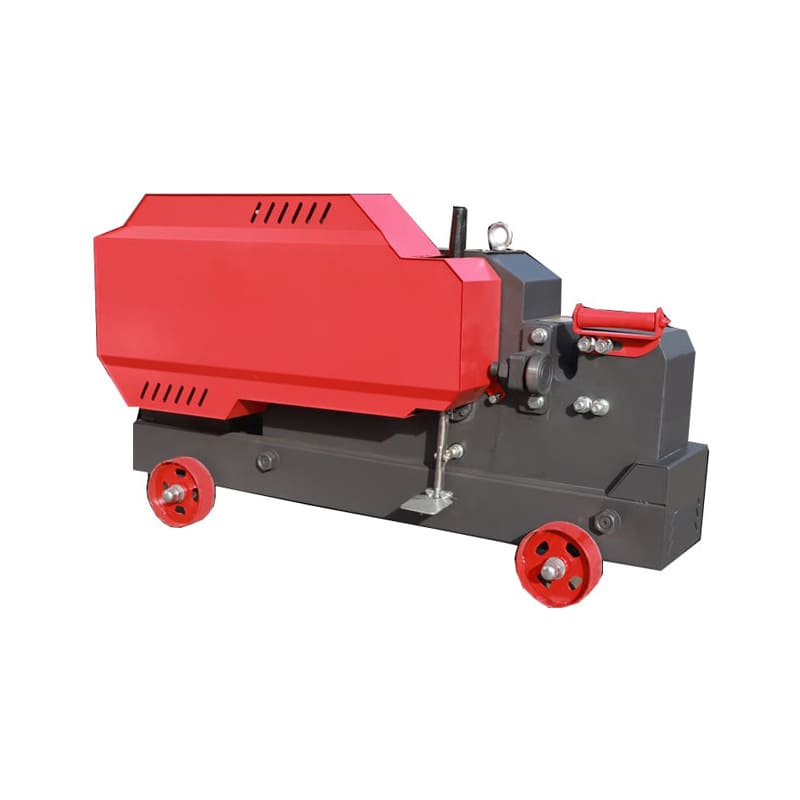
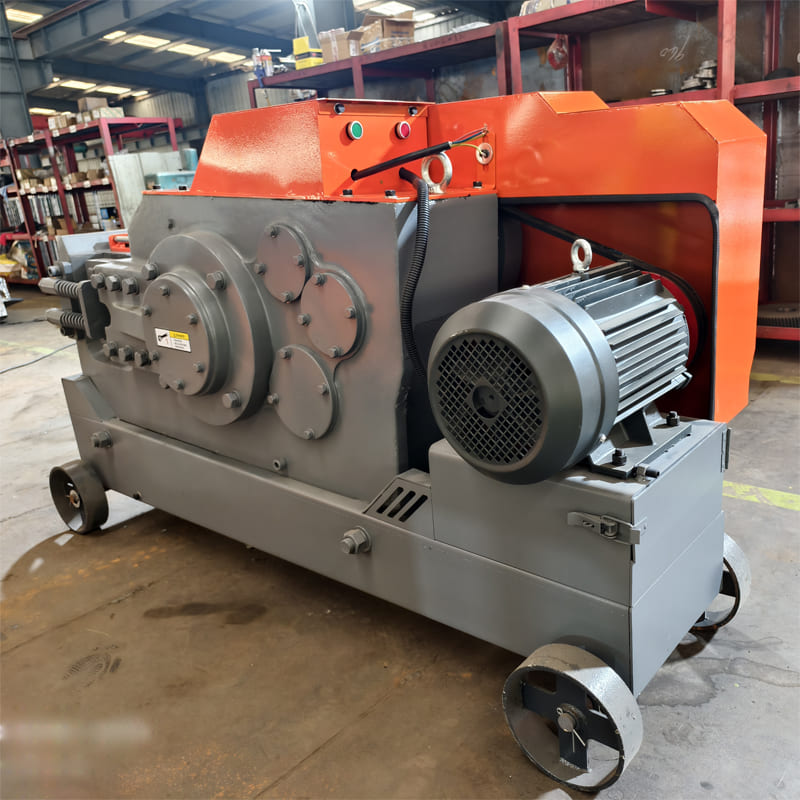
GQ60 Steel Rebar Cutter Machine
Cutting Capacity: ≤ø60mm
Cutting Frequency: 32times/min
Motor Power: 7.5kw(3 Phase)
Voltage: 380v(Customized)
Weight: 750kg
Dimension: 1630*700*970mm
GQ60 Steel Rebar Cutter Machine
GQ60 Steel Rebar Cutter delivers industrial-grade cutting performance for carbon steel, hot-rolled rounds, and threaded rebar (up to 60mm), featuring a robust construction with precision components—including a high-torque transmission system, forged alloy cutter head, and reinforced machine body—for reliable operation in demanding construction environments.
Key Specifications:
| GQ60 Steel Rebar Cutter Machine Specifications | |
|---|---|
| Cutting Capacity | |
| Grade II Rebar (≤450N/mm²) | ≤ø60mm (≤2.36″) |
| Grade III Rebar (≤650N/mm²) | ≤ø50mm (≤1.97″) |
| Performance | |
| Cutting Frequency | 32 cuts/minute |
| Power System | |
| Motor Power | 7.5 kW (10 HP) 3 Phase |
| Voltage | 380V (Customizable to other voltages) |
| Physical Specifications | |
| Weight | 750 kg (1,653 lbs) |
| Dimensions (L×W×H) | 1630 × 700 × 970 mm (64.2 × 27.6 × 38.2 in) |
Product Features:
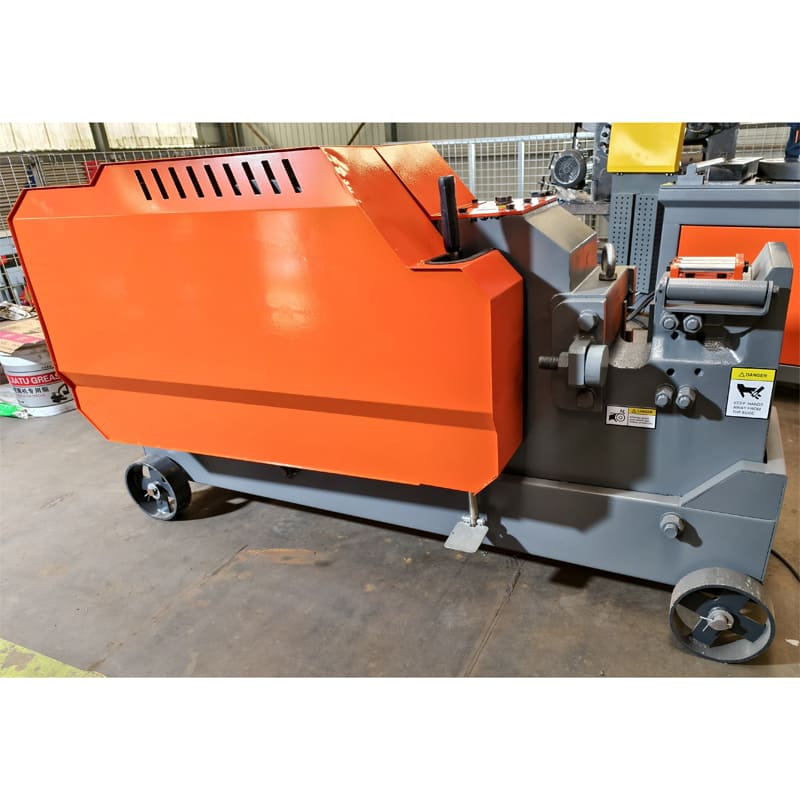
Durable Construction
Built from premium ductile iron casting, the GQ60 features a robust and compact design that ensures long-term durability and stable performance. Its space-efficient structure makes it ideal for demanding construction environments.
Efficient Lubrication System
Equipped with a sealed box-type frame and a gear splash lubrication system, the GQ60 delivers optimal lubrication throughout the machine. A single oil refill enables continuous operation for over two months. Always maintain oil levels above the marked scale line to ensure consistent performance.
Energy Efficient Operation
With improved internal lubrication and rolling bearings at the gear shaft ends, the GQ60 significantly reduces energy loss. It achieves up to 33% power savings compared to similar machines—even under comparable load conditions.
Mobility & Easy Maintenance
Designed for on-site convenience, the machine features front-wheel steering for smooth maneuverability. Its simple structure allows for easy maintenance and quick servicing, reducing downtime.
Secure Knife Plate Design
The knife plate is firmly fixed with transparent locking bolts, ensuring a stable, vibration-resistant connection. This design improves cutting accuracy and extends the overall life of the blade system.
Safety & Precautions for Use
I. Preparations Before Operation
-
Check Gear Alignment
Manually rotate the machine to confirm that the gears mesh correctly and operate smoothly. -
Verify Blade Installation
Ensure the blade is firmly secured with a 0.2–0.5 mm gap between the upper and lower blades for optimal cutting performance. -
Inspect Bolts
Confirm that all bolts and fasteners on the machine are properly tightened. -
Electrical Safety Check
Examine all electrical components for insulation quality and overall condition.-
Install a leakage protection device.
-
Ensure the grounding wire is securely connected for electrical safety.
-
-
Lubricate Moving Parts
Thoroughly lubricate all rotating components to reduce friction and prevent wear during operation. -
Conduct a No-Load Test
Run the machine without any load to detect potential issues.-
If irregular sounds, vibrations, or movements occur, stop immediately for inspection and repair.
-
II. Operational Precautions
-
Correct Cutting Position
Always place the steel bar at the bottom edge of the blade during cutting. Avoid unnecessary use of the upper edge to reduce strain on the mechanism. -
Monitor Blade Condition
Inspect the blade regularly during operation.-
Replace or sharpen it promptly if signs of wear or damage appear.
-
-
Address Malfunctions Safely
In the event of operational issues, immediately disconnect the power before performing any checks or repairs. -
Do Not Adjust While Running
Never attempt repairs or adjustments while the machine is in operation to avoid injury or equipment damage. -
Check Safety Guards
Before starting the machine, ensure all safety guards are properly installed and secured. -
Clutch Usage
When engaging the clutch, press it fully.-
Avoid partial engagement, which can lead to excessive wear or malfunction.
-
-
Keep Work Area Clear
Regularly remove debris or scrap material beneath the blade.-
Accumulated waste can cause undue pressure and may damage the knife plate or loosen fixing bolts.
-

")